Install BCMS locally on your computer in 3 minutes
In this quick guide, you'll see how to set up a brand-new website BCMS locally, on your computer.
To successfully start and run the BCMS locally, you will need a few tools.
Make sure to have them installed before you continue. Click on each of the items above to read the installation instructions.
The easiest way to start BCMS project locally is by using the BCMS CLI.
Installing BCMS CLI
To install it globally, run this command in your terminal:
npm install @becomes/cms-cli -g
To verify that the installation went well, run:
bcms --help
Create BCMS project
Now that you have the CLI installed, all you have to do is open a terminal, navigate to a location where you want to create the project, and run:
bcms --cms create
This command will prompt you to enter the name of your project.
Since BCMS relies on Docker to run all application segments, please ensure that Docket is running on your system. Run docker ps -a to list all available docker containers. The command will succeed only if the Docker engine is running. Don't worry if your docker table is empty. That's fine 👍
Start a development server
After creating a BCMS project, you can enter the project location from your terminal or open it in your favorite code editor or IDE. Inside the project, run docker-compose up or docker compose up (use whichever works for you).
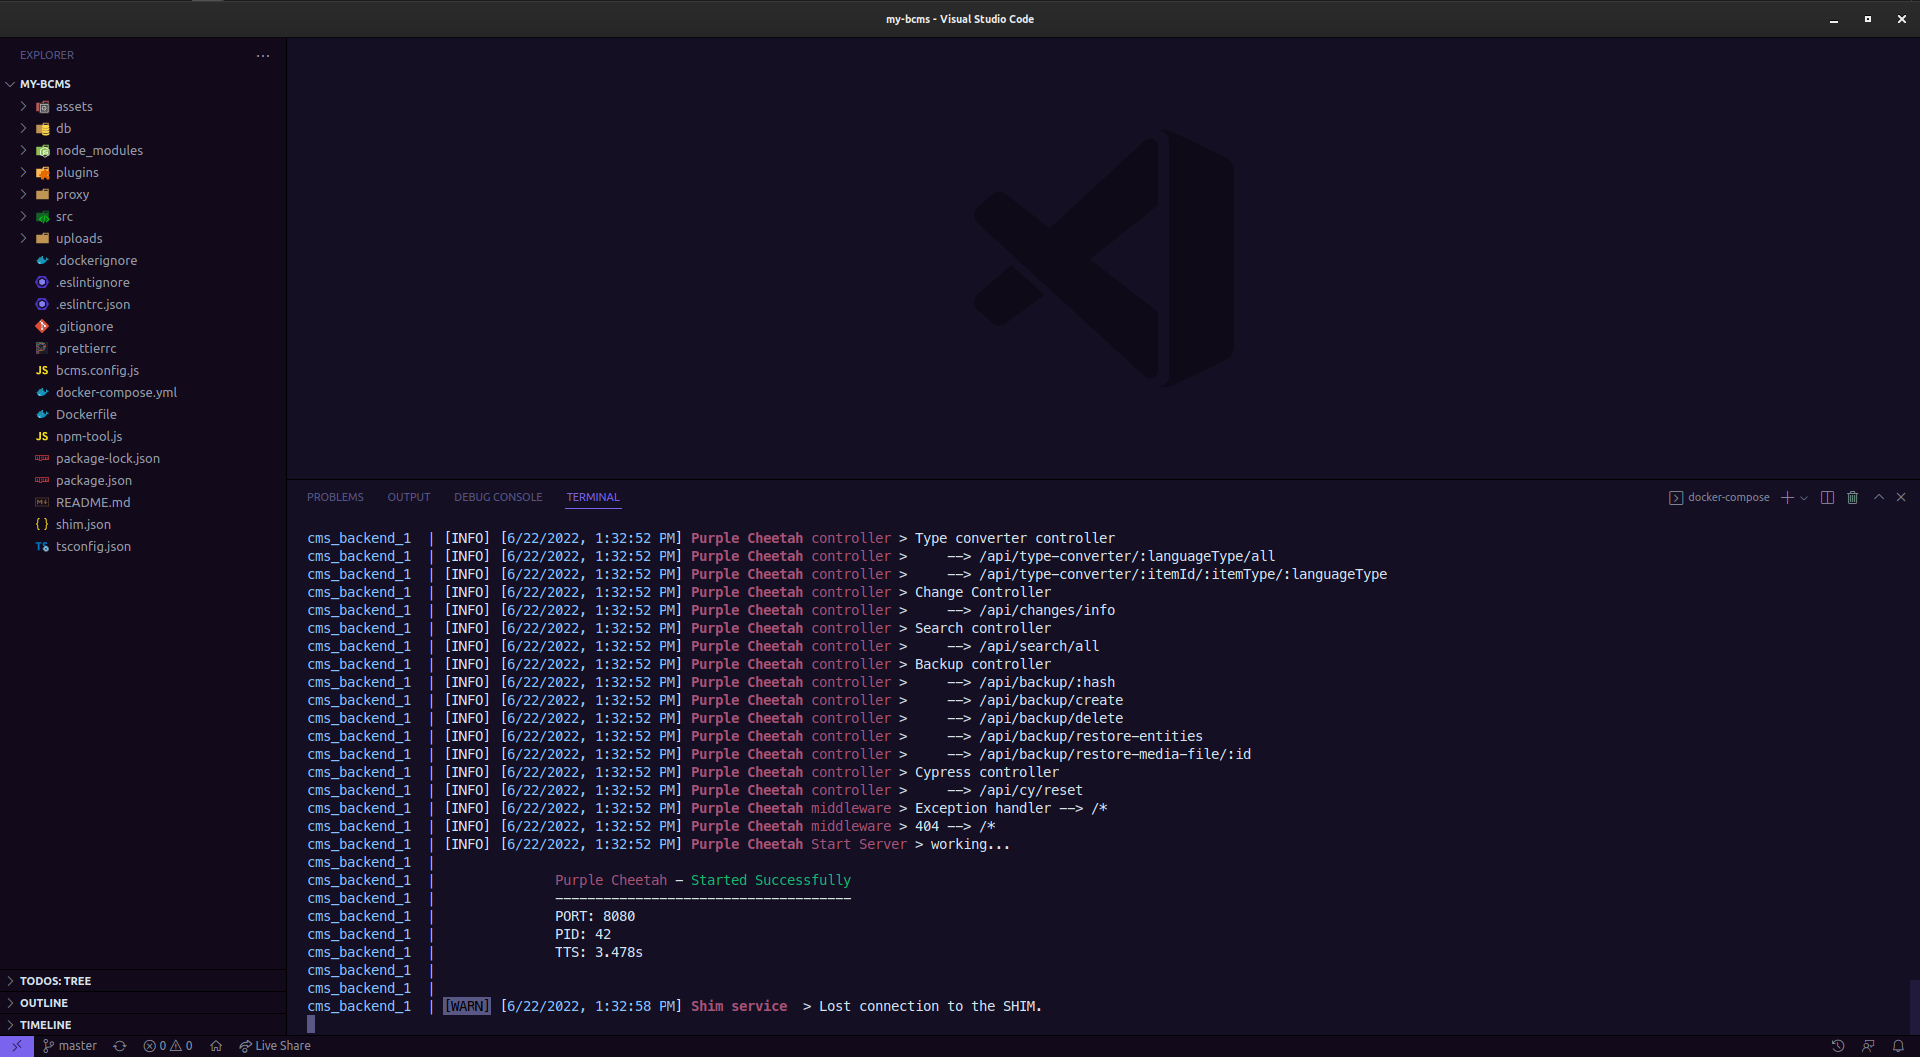
When all containers start, you can open your browser and navigate to localhost:8080.
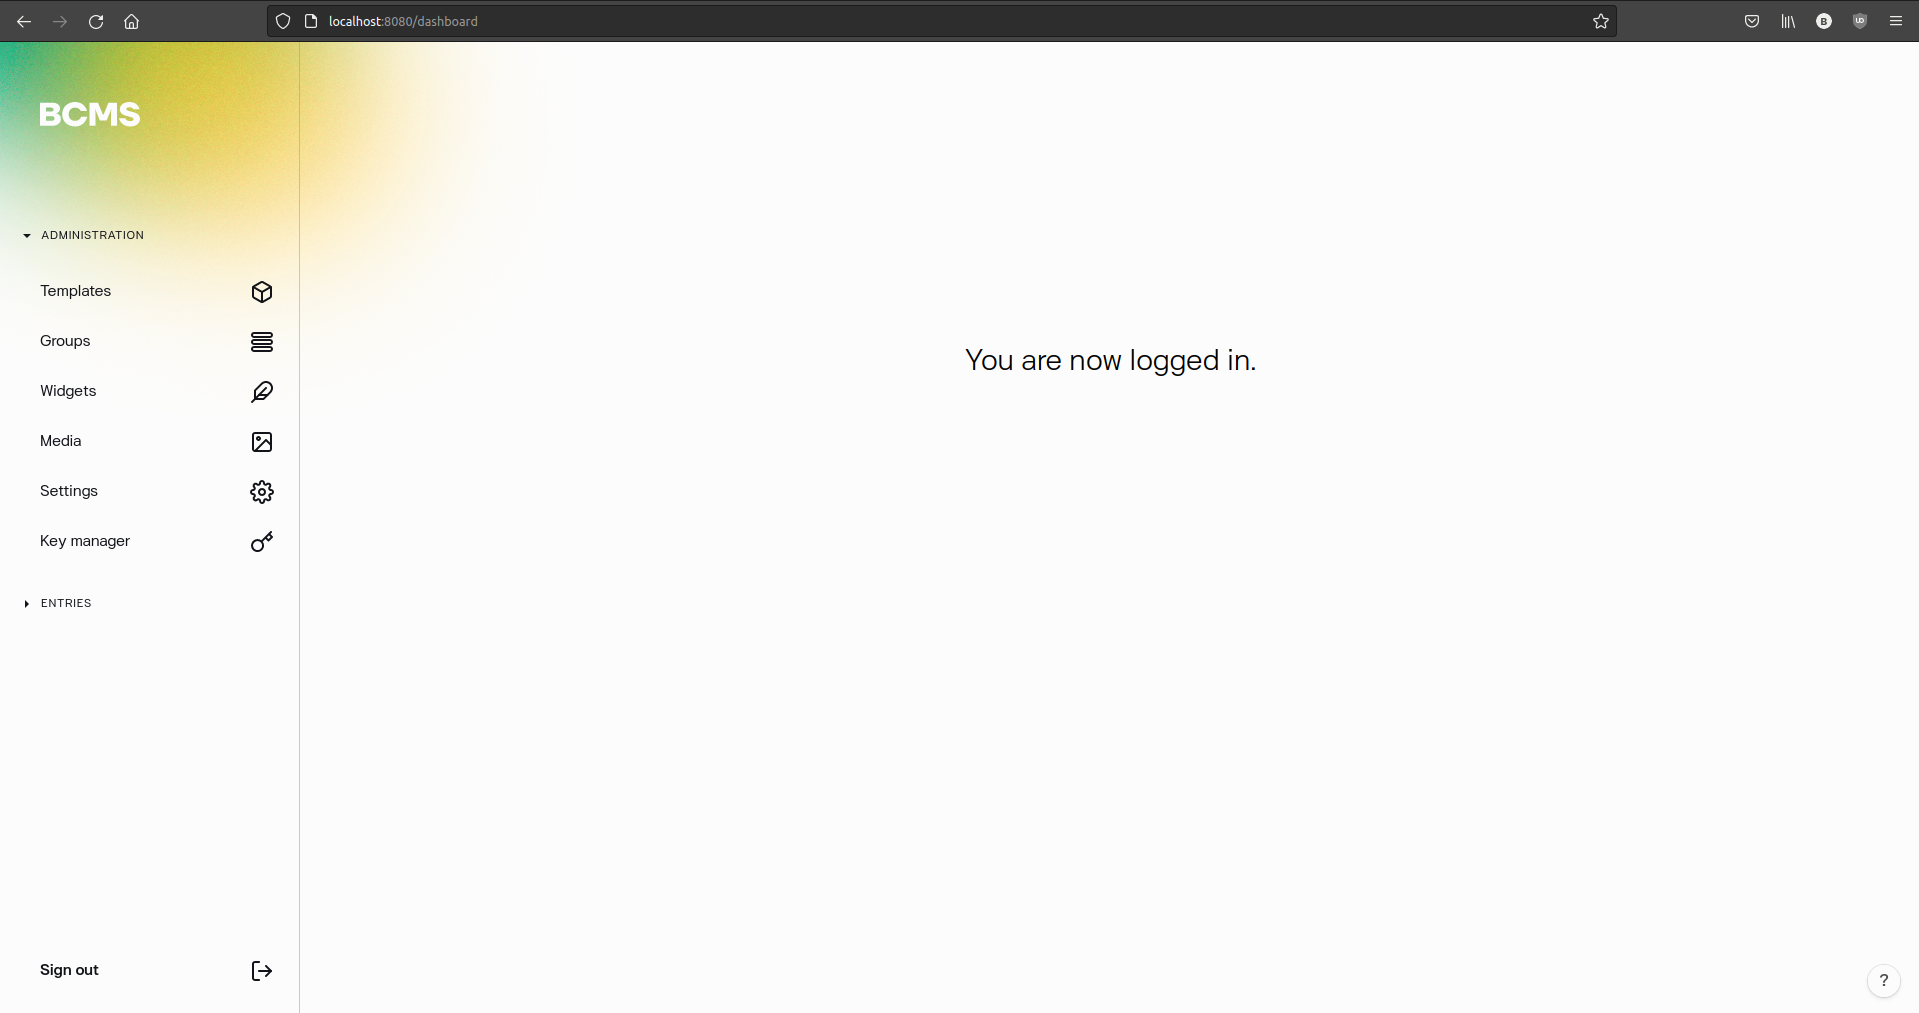
That's all! You can now explore BCMS locally on your machine. 😍
Is this a full version of the BCMS?
Yes, it is. There are no feature restrictions, and you can do everything that you can do with a production-deployed version. The only difference is that the instance is not connected to the BCMS Cloud, so you cannot create users.